

Definitive Guide to Air Venturi Avenger Bullpup II
In 2023, Air Venturi released the Avenger Bullpup II, building on the success and popularity of the original. This new version features a relocated cocking handle and a lower scope rail while maintaining all the benefits of the first generation. In this guide, we'll discuss the features, setup and operation, performance, and accuracy of Air Venturi's second-generation bullpup. Let's get started.
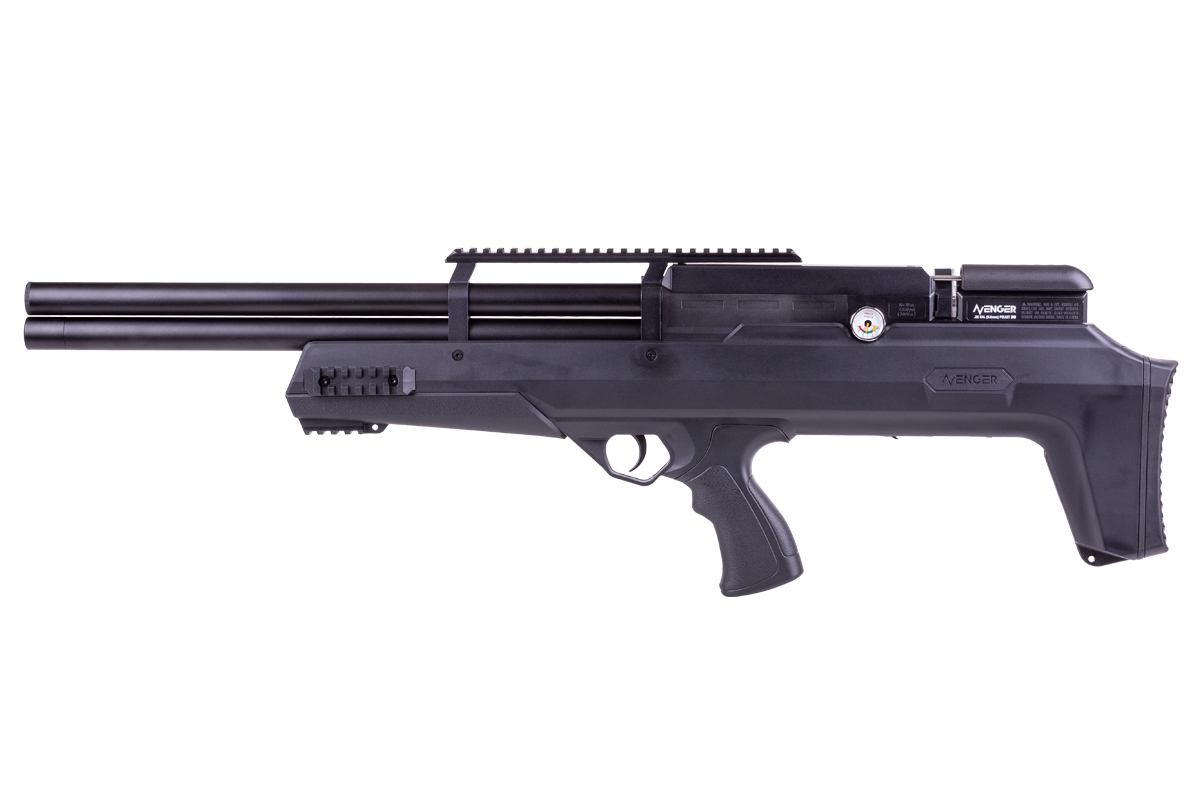
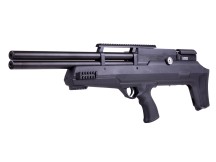
The Air Venturi Avenger Bullpup II air rifle is available in .177, .22, and .25 calibers. It features an all-weather synthetic stock, 22.75" rifled steel barrel, barrel shroud with an integrated moderator, adjustable cheekpiece and buttpad, Picatinny top rail, tri-rail foregrip for a bipod and other accessories, a 180cc air cylinder with an operating pressure of 300 BAR, dual pressure gauges, dual magazine storage on the underside of the buttstock, and a forward mounted cocking lever.
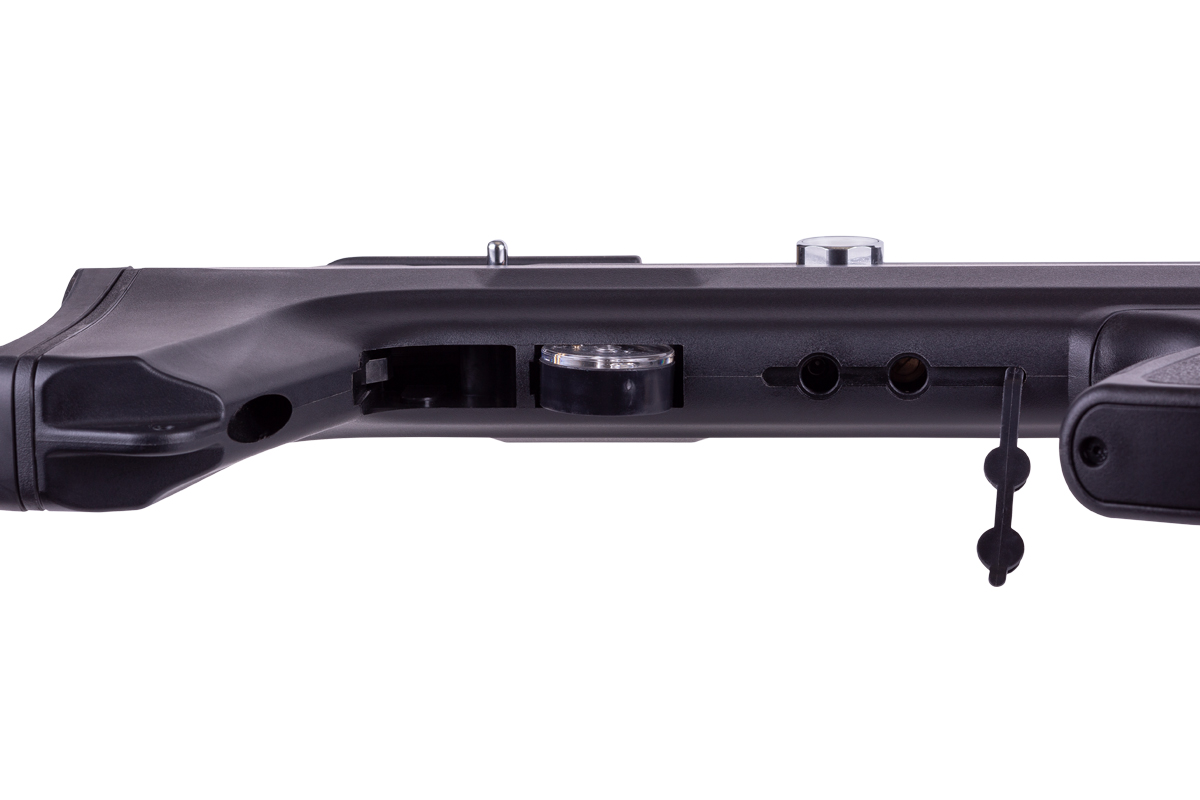
The claim to fame for the Avenger line came from their external adjustability. The Avenger Bullpup II features easy-to-access external adjustments for the following: a 2-stage trigger, regulator, hammer spring, and degassing port. Let's look at how all these features come together.

Starting at the rear of the airgun, you'll find the adjustable buttstock. This piece of equipment adjusts upward and downward without the need for tools, allowing the shooter to position the gun in an optimal position in their shoulder pocket. Adjusting the buttstock this way really helps with ergonomics and overall shooting comfort.
Moving forward and on top of the receiver, you'll find the adjustable cheekpiece. This piece moves back and forth, and no tools are required to help the shooter get the best cheek weld. The magazine and breech area are next. Both the .177 and .22 caliber Avenger Bullpup II airguns ship with two 10-shot magazines. The .25 caliber ships with two 8-shot magazines. All models ship with an optional single-shot tray. The safety is located on the right side of the airgun between the buttstock and the mag well.

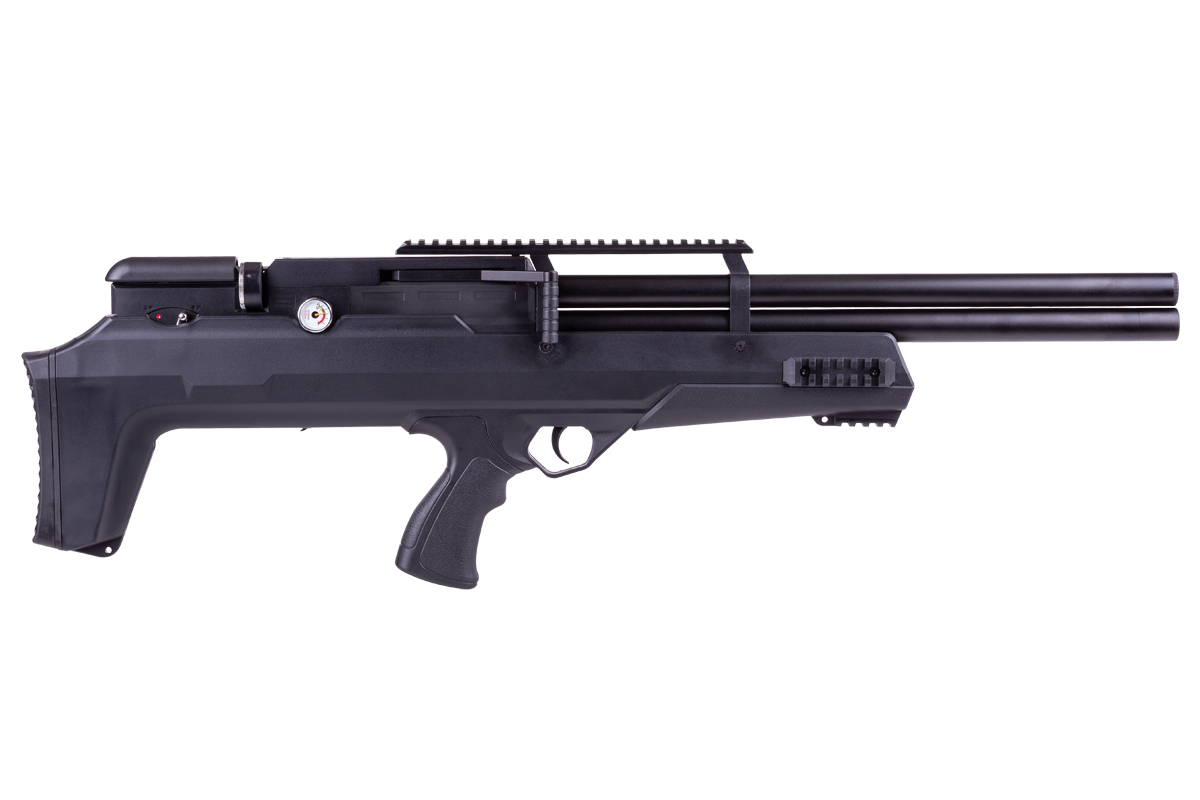
Next, on the left side of the gun, you'll find the main pressure gauge. This gauge shows the current pressure in the tank. On the opposite side of the receiver, you'll find the regulator pressure gauge, which shows the regulator pressure.

On the right side of the receiver, you'll find the newly relocated cocking lever. Having the cocking lever moved forward above the trigger makes for a more ergonomic and seamless shooting experience. Below the cocking lever, you'll find the textured pistol grip and trigger area. The trigger is fully adjustable. Our sample shipped with a sub 2lb trigger. We found it to be better than average and saw no need to make any adjustments.
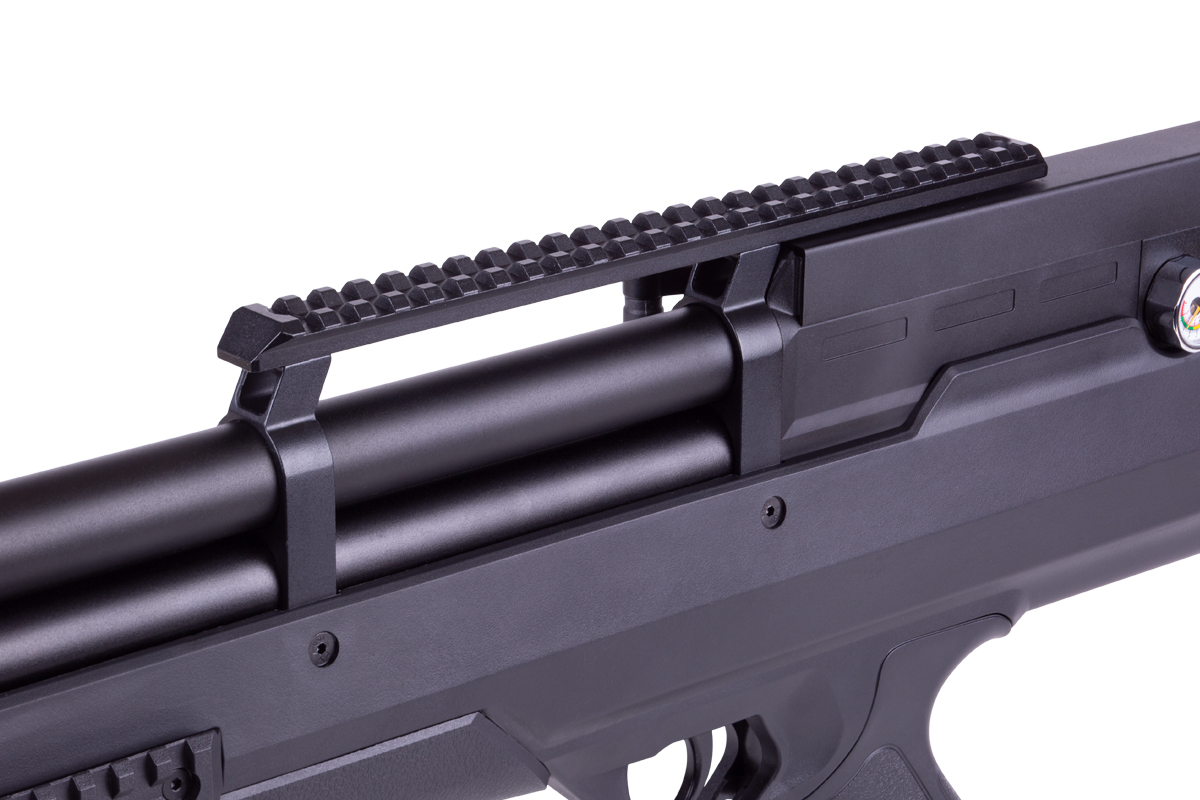
There is a long Picatinny top rail for mounting optics. This is secured to the action and also a barrel band. The barrel band secures the top rail, barrel shroud, and pressure tank down through the forearm to maintain proper rigidity. At the front of the forearm, you'll find the integrated Picatinny tri-rail and a mounting hole for a sling. There is a corresponding sling hole at the bottom of the buttstock.
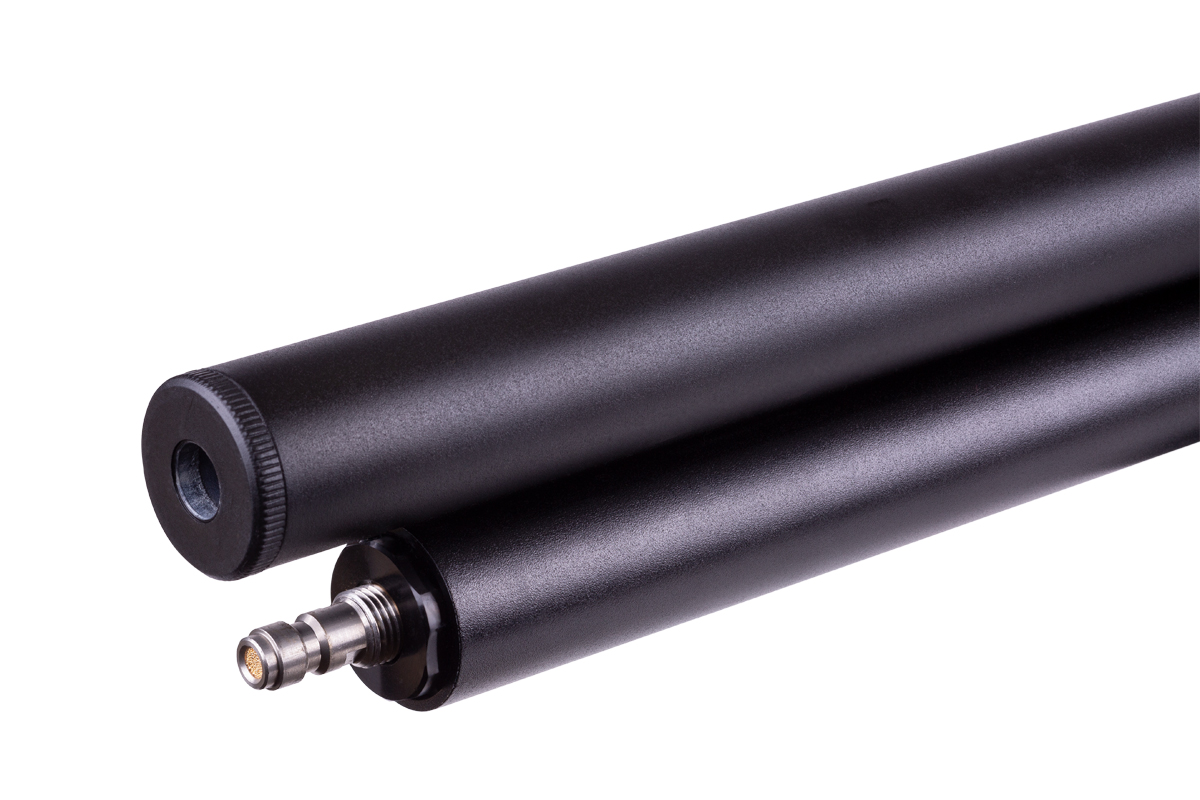
As we make our way to the front of the rifle, we come to the shroud end cap, and the quick disconnect fill port for the air cylinder.
Much like the original model, there's a lot of "synthetic" going on with the Bullpup II. Fortunately, the Bullpup II does not feel "plastic fantastic" but more like a well-put-together modern airgun. The fit and finish are decent, and it's very comfortable when pulled to the shoulder. The balance and shooting ergonomics, mostly due to the new cocking handle location, are really nice.
Setup and Operation
With aesthetics and features out of the way, let's get our Avenger Bullpup II ready for the range. It does not come with open sights, so you will need to mount an optic. Air Venturi made mention of lowering the scope rail. We found this problematic when trying to get proper scope alignment. The mechanics of a bullpup are just like an AR. If you are going to scope one, then you'll need to get the scope high enough to be comfortable. What's best is going to vary from shooter to shooter. For our testing, we needed to source really high mounts.
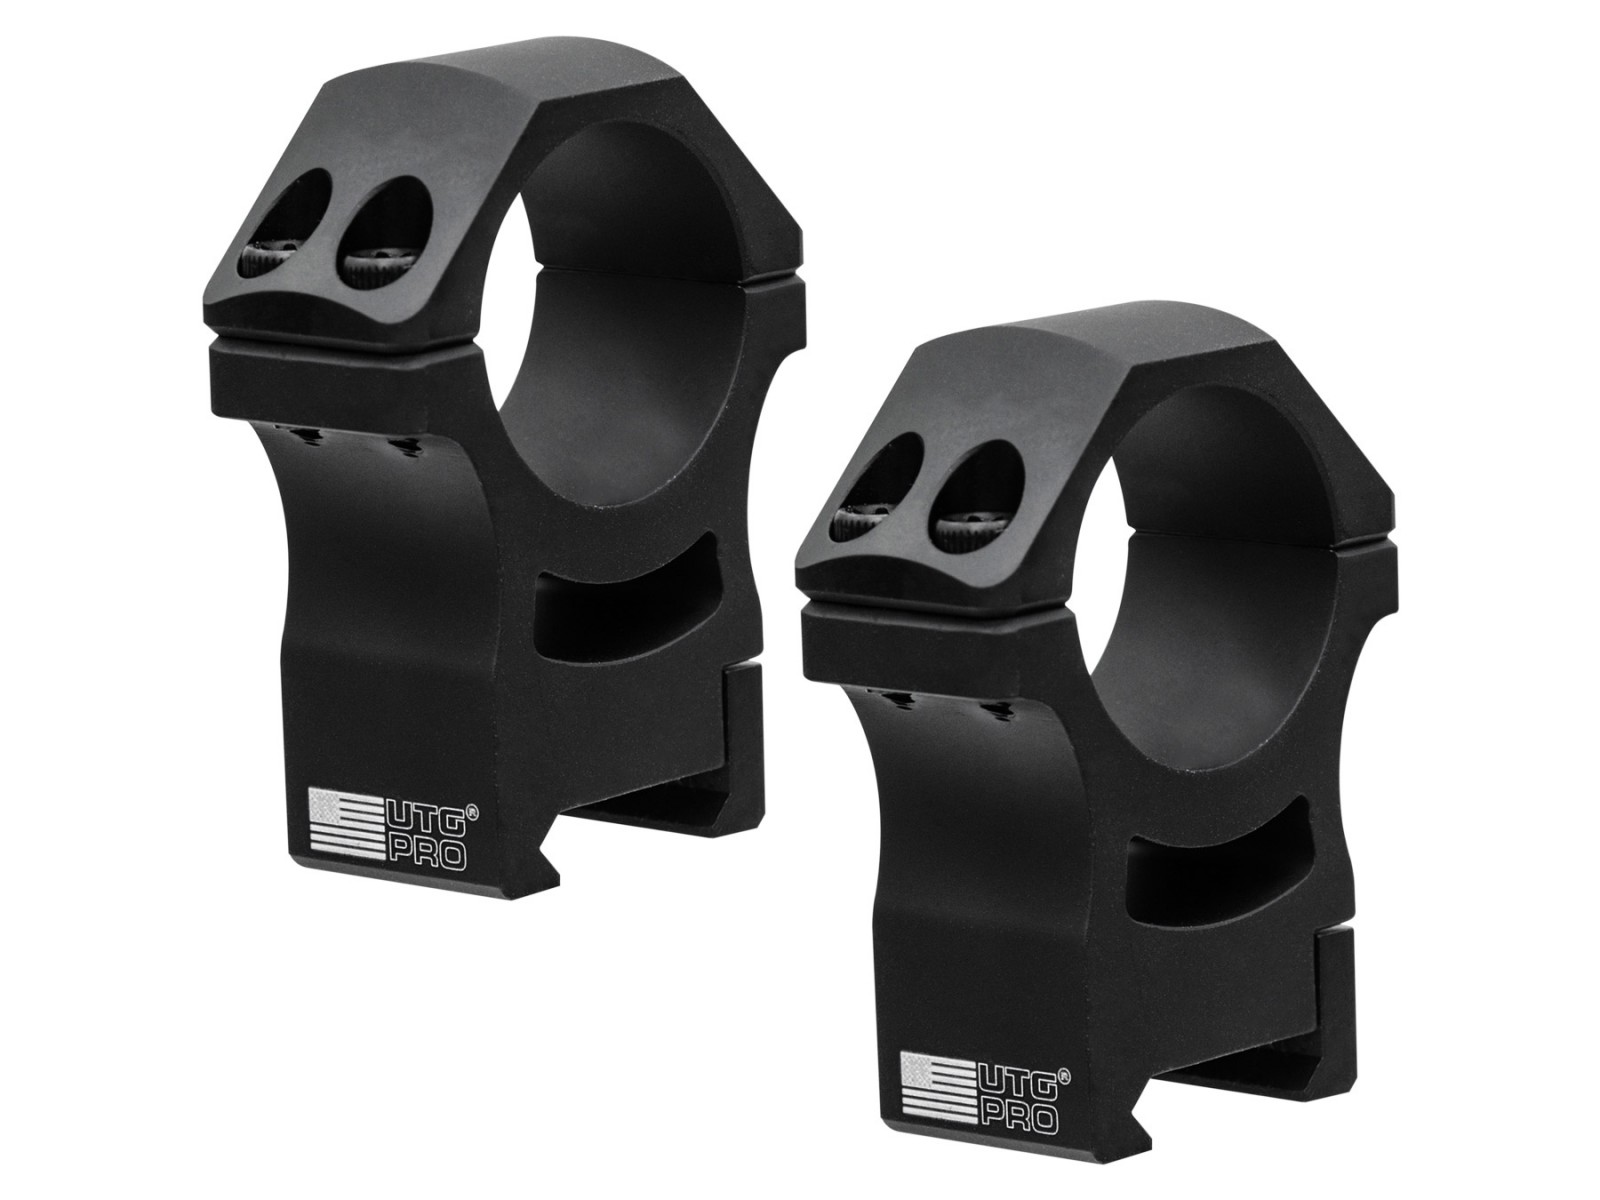
Normally, we gravitate to Hawke Match Mounts, as they have always served us well. But this time, even the high weaver mounts were a little low. Fortunately, UTG makes some 30mm High mounts30mm High mounts with a 37mm center height, which is just about perfect for our needs. Again, your needs may vary based on your body type.
With the scope rings settled, we can now go ahead and mount our 6-24x56 Hawke Sidewinder. It has a 30mm tube, side parallax adjustment, and is purpose-built for airgunners. It's an exceptional optic.
Before we can load our mags and take our first shots, we need to fill our airgun. The Avenger Bullpup II pellet rifle fills to a maximum of 300 BAR for optimal performance. Once filled, we found our regulator was set to the default 2900 PSI pressure, which is essentially maxed out. Depending on your use case and pellet choice, you may improve efficiency and performance by reducing the reg pressure and optimizing your hammer spring. Instructions for doing both are clearly laid out in the manual.
With our scope mounted and our airgun filled to 300 BAR, we can load our magazines and get to shooting. The manual provides detailed instructions on how to load the magazines. For anyone familiar with the Benjamin Marauder, the magazines load the same way. Let's take our first shot.
Always mind your safety while loading and shooting. To load the magazine, pull the cocking handle back and leave it open. Insert the magazine and close the cocking handle. The gun is ready to fire. Acquire your target. Release the safety and gently squeeze the trigger. To fire again, cycle the cocking handle and repeat.
Performance and Accuracy
Out of the box, our .22 caliber Avenger Bullpup II was pushing the 18.13 Grain JSB Pellets downrange at an average velocity of 940 FPS, delivering 35.58 foot-pounds of energy. We got 30 shots on the reg with a few still to go if you wanted to push things. The extreme spread was around 20 FPS with a standard deviation of around 6 FPS. This being a new gun, we expect the reg to settle down a little bit, reducing the extreme spread and improving our standard deviation. Not by a lot, but we generally see an extreme spread between 10 and 15 FPS and a standard deviation between 3 and 5 FPS.
Additionally, we are shooting our sample as delivered. There's a lot of room for optimization here, given more time in the shop and at the bench. Adjustability is a key benefit of the Avenger line of airguns; you can easily dial them in to meet your needs. One quick note, before you go turning any knobs, please be sure that you've read the manual and have the gear needed to do the work. For example, you'll need a reliable chronograph to measure your progress. Now, let's get on to accuracy.
We shot several groups at 50 yards, and here are our results. Conditions were "less than optimal," with sustained winds at around 7 MPH with gusts up to 15 MPH. We shot several pellets and found the following to each be pretty good.
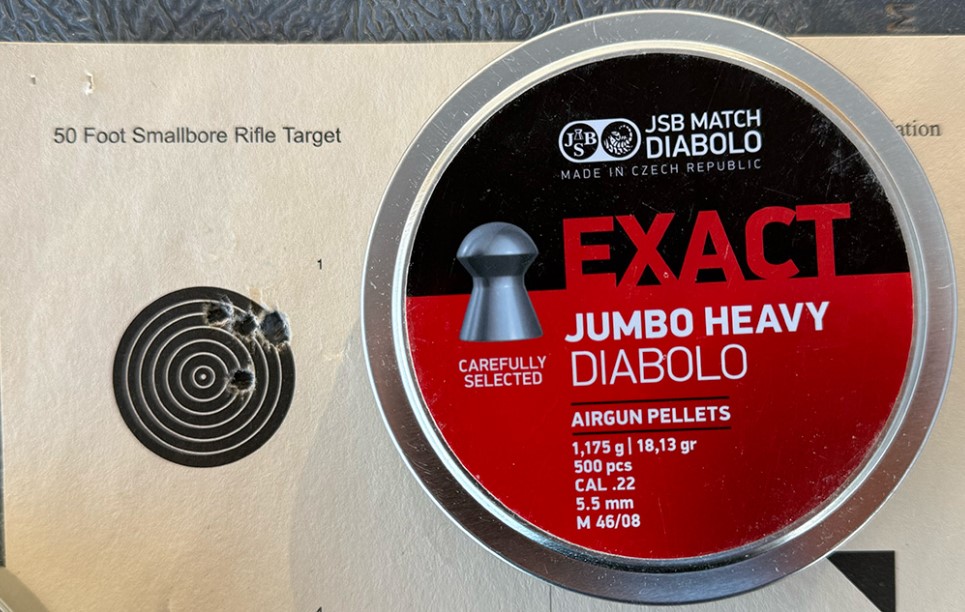
JSB 18.13, 5-shot group at 50 yards - 940 FPS, 35.58 FPE
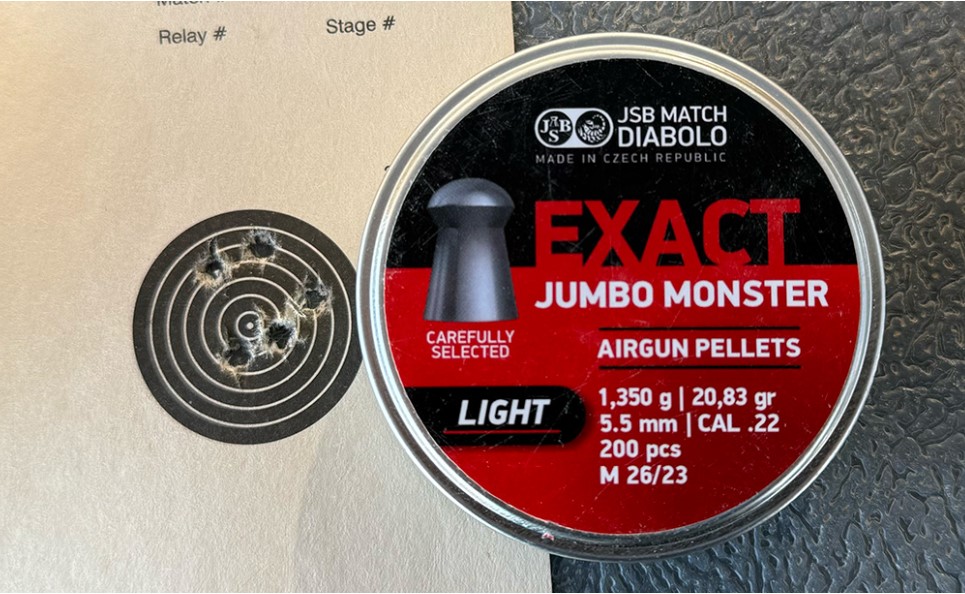
JSB 20.83, 5-shot group at 50 yards - 870 FPS, 35.02 FPE
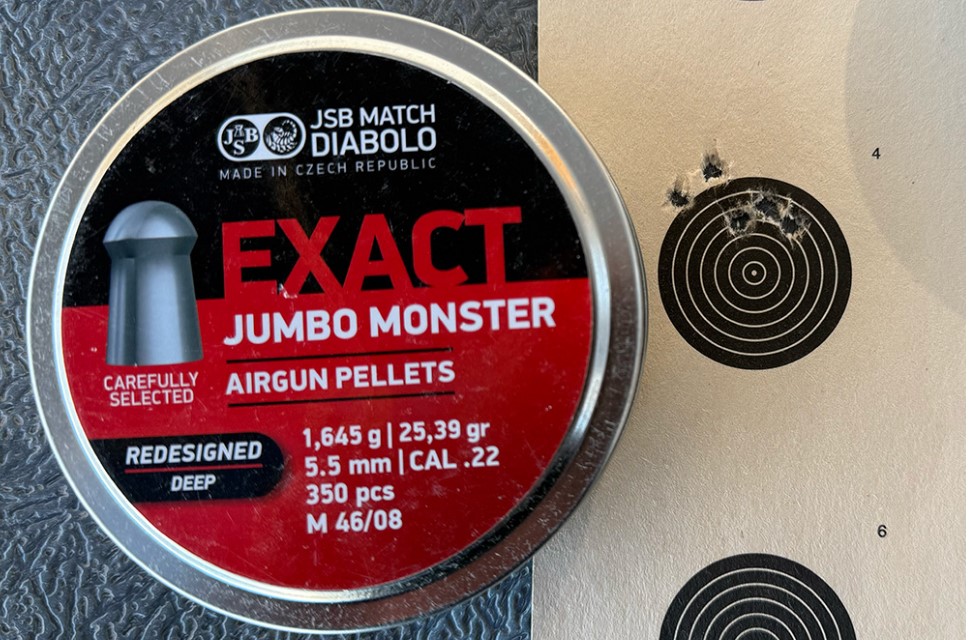
JSB 25.39, 5-shot group at 50 yards - 784 FPS, 34.66 FPE
Summing Up
Well, this concludes our look at the Air Venturi Avenger Bullpup II PCP air rifle. The original was already a hit with airgunners. The new model only changed slightly based on consumer feedback. This new model is as accurate and flexible as the original but now has much better ergonomics, delivering a more enjoyable shooting experience.
If you have more questions about the Air Venturi Avenger Bullpup II or any of the Avenger line of airguns, including the new Avenge-X, then please don't hesitate to reach out. We are always eager to help.
Please Note: You must be 18 years of age or older to order and conform to all laws governing the use and ownership of airguns in your local area. More Info
2025 Airgun Depot, 12453 S 265 W Suite F, Draper, UT 84020. All rights reserved. Terms of Use