Before you shoot your new gun for the first time, you must align its sights with the flight path of the BB or pellet. Even though your gun is brand new and fresh from its box, it is very likely that things are not lined up as they should be… the same holds true for that new scope that your air gun may have come with. Read along as we explore some basics of how to get you on target, and keep you there.
Sighting Tools
Once you have familiarized yourself with your gun and its owner’s manual, it is time to find yourself a suitable pair of shooting glasses. You don’t want a ricochet to land in your eye… “you’ll shoot your eye out kid!” I have had good luck with the high impact plastic safety glasses available at Lowes and Home Depot, but you can also purchase special shooting glasses from Airgun Depot. Inexpensive sunglasses or prescription glasses likely won’t keep you safe.
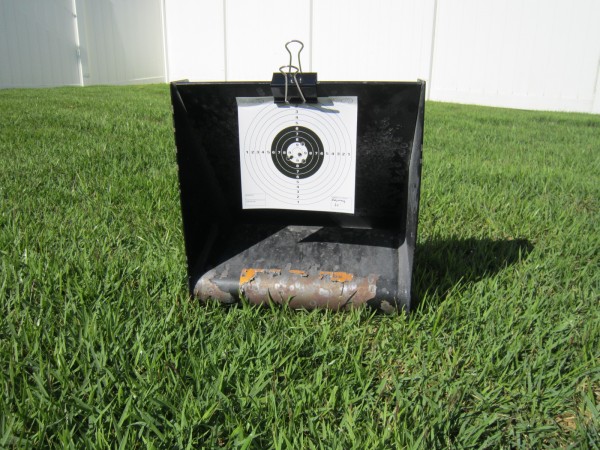
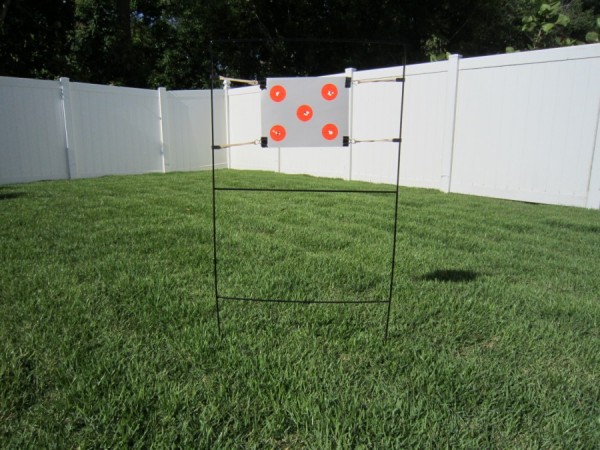
Next, set up a suitable back stop that will prevent your BB’s or pellets from going where you don’t want them to. I have had good luck with hay bales, plywood boards, and various pellet traps. The idea is to stop the projectile and capture it so that it won’t ricochet. My favorite quiet setup that won’t ricochet with BB’s or pellets is to shoot through a modified “for sale” sign, positioned in front of hay bales wrapped in garbage bags… to keep the moisture and bugs out. If noise isn’t a factor, I really like to use a steel pellet trap set up in front of double stacked plywood boards… but this sort of trap will deflect BB’s in a fierce way, as will a plywood board. Choose a back stop and trap that makes sense for you and remember to keep in mind what’s BEHIND the target.
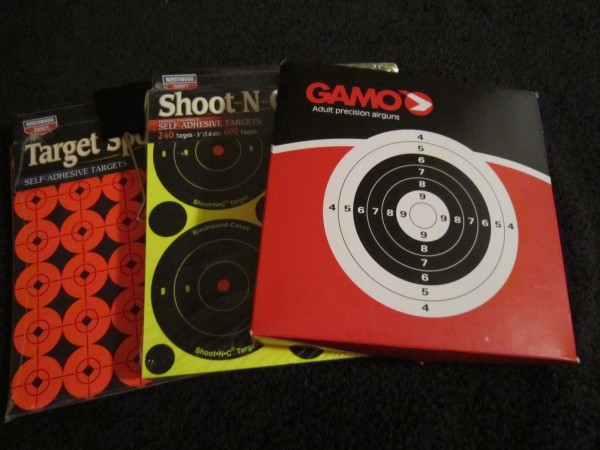
Paper targets can be purchased, downloaded from the internet and printed out, or constructed. My favorite ready-made targets are made by a company called Birchwood Casey, who’s “Shoot-N-C Targets,” and “Target Spots” work well, and have adhesive backs that will stick to just about anything. Gamo makes affordable targets of good quality as well. I use all of the above but most often, I like to shoot through Birchwood Casey targets adhered to grey cardstock. Of course a black dot drawn on to a pie plate will get the job done too.
When you sight in an air gun, it’s always best to shoot from a rest of some sort. That way, you can remove as much human error from the equation as possible. Please refer to How to Get a Springer to Shoot Straight for hold, pellet selecting lessons, and technique. Shooting off of a rolled up towel, blanket, or pillow works just as well as using a dedicated shooting bag. That being said, Caldwell brand bags are reasonably priced and have held up well for me.
Steps to Sighting Your Airgun
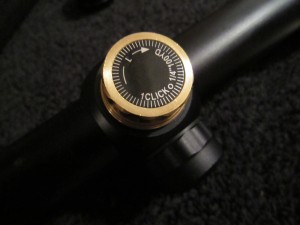
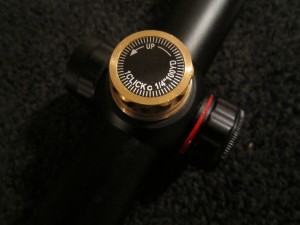
Begin from about 15 feet away to make sure that you are “on the paper” as they say. You would be surprised how easily you could miss a phone book sized target from close range prior to you getting your scope or open sights properly adjusted. Aim at the target, take 3 shots, and make note of where they impact the paper. If you didn’t hit your mark, that’s ok. From this close range you want them to impact just beneath the target… perhaps an inch below for open sights, and two inches below for the typical scope set up. If your projectile impacts the target too low, adjust your point of aim upward. If it lands high, adjust your point of aim down a bit. This will involve rotating the “elevation” turret on your scope in either the “up” or “down” direction or adjusting your open sights in a similar fashion. Also make note of whether the pellet or BB strikes the target to the left or the right of your point of aim. If the holes appear to the left or right of where you were aiming, adjust the “windage” turret on your scope in either the “left” or “right” directions… or adjust your open sights similarly. At the close range of 15 feet, you may need to rotate your scope turrets a full turn or more to see any change in the impact point… but generally, you want to make adjustments of a quarter turn at a time in these initial stages. After you make an adjustment, take three more shots. Again observe their point of impact on the target and adjust as described above. Continue this process at 15 feet until your holes are centered below the target. Here is a helpful hint to speed up the process… lightly tap the tops of the scope mounts with the butt of a rubber screw driver after each scope adjustment. This helps the scope’s inner reticle tube settle into place after each turret adjustment.
 |
 |
Now that you are on paper at 15 feet, it is time to move back to 30 feet. Repeat the above process, taking three shots at a time, and adjusting your scope or sights until you are hitting your mark. It is important to note that when you are 30 feet away from the target, any adjustments you make to the sights or scope will have a more profound change on the point of impact. So once you get out to 30 feet, adjust your scope turrets just 2-3 clicks at a time, and adjust your open sights in the smallest increments you can. Once you are hitting your mark at 30 feet, you can move back to 75 feet (25 yards), and finish up here, repeating the above process until once again you are hitting your mark!
The general concept in sighting in your air gun is to start close to the target and work your way further and further away. You can complete your final sight in at any distance you choose but most will sight in at the distance they most commonly shoot their gun at. Most air guns are best sighted in at between 20 and 30 yards for reasons that are fairly complicated and best saved for another read. Lastly, bear in mind that it is normal to have to make periodic adjustments as the weather changes, as you change ammunition types, or as you bump your gun around.
Note: You can freely download printable targets with additional sighting instructions created by airgun expert Rick Eutsler.
